How to Create a Shipping Label (2026): 5 Easy Steps
Creating a shipping label is a straightforward process that you can complete online in just a few minutes. Enter your package’s details (addresses, weight, dimensions) using an online shipping service, choose a carrier, pay for the postage, and print. That label is packed with information telling carriers everything they need to know, from the destination address to the shipping speed. Without a proper label, your package isn’t going anywhere.
This guide walks through exactly how to create a shipping label, covering everything from gathering the right information to printing and attaching it perfectly. Whether you’re a small business owner or just sending a gift, you’ll learn how to do it efficiently and affordably.
Compare carrier rates instantly before you start, so you know you’re picking the cheapest option.
What’s on a Shipping Label? (The Anatomy)
Think of a shipping label as your package’s passport. For a deeper dive, see the complete guide to shipping labels. It contains several key pieces of information that ensure it gets processed, tracked, and delivered correctly.
Here’s a breakdown of the essential components:
- Sender and Recipient Information: The “ship from” (your address) and “ship to” (the destination) sections with full names and addresses.
- Tracking Number and Barcode: A unique number, represented as a machine readable barcode, allows the carrier to scan the package at every stop. This powers the real time tracking you and your recipient see.
- Service Level: This indicates how fast the package should travel (for example, USPS Priority Mail, UPS 2nd Day Air, or FedEx Ground).
- Package Weight and Dimensions: The carrier uses this to calculate postage cost. An inaccurate weight can lead to extra charges or delivery delays.
- Shipping Date: The date the label was created, which helps estimate the delivery timeframe.
- Special Markings: Other codes or markings help with sorting and routing. For international shipments, the label also includes customs information, like a description of the contents and their value.
Before You Start: What You’ll Need
Before you can create a shipping label, have a few details ready. Gathering this information upfront makes the process smooth and prevents errors.
- Full Addresses: Complete sender and recipient addresses, including street names, apartment or suite numbers, cities, states, and ZIP codes. An incomplete or incorrect address is a common reason for delivery problems. If you’re unsure about formatting, see these address formatting tips.
- Package Weight: Use a shipping scale for accuracy. Carriers can and will charge you extra if the weight you declared is less than the actual weight.
- Package Dimensions: Measure the length, width, and height of your box. Carriers like UPS and FedEx use dimensions to calculate dimensional weight, which can affect the price for large, lightweight packages.
- Desired Shipping Speed: Decide if you need it there overnight, in a couple of days, or if standard ground shipping is fine.
- Your Shipping Volume: Consider how often you ship. Are you sending a one time gift, or do you run an ecommerce business shipping multiple packages a week? Your volume helps determine the best method for creating labels. A casual shipper might use a carrier website, while a regular shipper benefits from the discounts and efficiency of shipping software.
Browser and System Requirements for Label Creation
This catches people off guard more often than you’d think. Practitioners on Reddit report that outdated browsers cause label formatting issues, blank PDFs, and payment errors, especially on carrier websites that rely on newer JavaScript features.
Before starting, make sure your setup meets these basics:
- Browser: Use a current version of Chrome, Firefox, Safari, or Edge. Most carrier platforms and shipping software officially support only the last two major versions. Internet Explorer is no longer supported anywhere.
- PDF Viewer: Labels generate as PDF files. You need Adobe Acrobat Reader or your browser’s built in PDF viewer. If labels come out blank, the usual fix is updating your PDF reader or switching browsers.
- Pop up Blockers: Carrier sites like UPS.com and FedEx.com open labels in pop up windows. Disable pop up blockers for those domains, or you’ll click “Print” and nothing will happen.
- Operating System: Windows 10 or later, macOS 12 or later, or a recent ChromeOS build. Older systems sometimes lack the TLS security protocols carriers require for payment pages.
- Mobile: iOS 16+ or Android 12+ for carrier apps. Label creation works on phones, though printing requires either AirPrint, a Bluetooth thermal printer, or the QR code workaround described later in this guide.
If you plan to connect a USB scale (covered below), make sure your browser supports the Web USB API or that the scale’s desktop software is compatible with your OS.
How to Create a Shipping Label in 5 Simple Steps
Learning how to create a shipping label online is simple and saves you from paying higher prices at a retail counter. Here’s the step by step process.
Step 1: Determine Your Needs and Choose a Carrier
Your first decision is picking the right carrier and service. This choice depends on your package’s size, weight, destination, and your budget. If you’re deciding between common options, see this UPS vs USPS cost breakdown.
- For small, light packages: USPS often has the most competitive rates.
- For heavier or larger boxes: UPS or FedEx Ground can be more economical.
The best way to know for sure is to compare options side by side. Instead of visiting each carrier’s website individually, use a free tool to see all your choices at once.
Pro Tip: Use the Online Shipping Calculator to instantly compare real time rates from USPS, UPS, FedEx, and more. It helps you find the cheapest or fastest option in seconds.
Step 2: Pick Your Label Creation Method
You have several options for where to generate your label, and the right choice depends on how often you ship and how much control you want.
Create a Shipping Label as a Guest (No Account Required)
Not everyone wants to create yet another online account. The good news: most major carriers let you create a shipping label as a guest.
UPS allows guest label creation through its “Ship Without an Account” option, which accepts credit card payment without requiring a UPS account number. FedEx offers a similar guest checkout flow for one off shipments. USPS requires a free USPS.com account to use Click N Ship, but registration takes under two minutes.
Guest checkout is ideal for one time shipments like sending a birthday gift or returning an item. The tradeoff: you won’t get saved addresses, shipping history, or the deepest discounted rates that come with a full account or shipping software. Practitioners on shipping forums frequently point out that guest labels from UPS sometimes default to retail rates rather than the cheaper online rates available to account holders.
Using a Carrier’s Website (Classic Flow vs. Quick Flow)
Major carriers like USPS, UPS, and FedEx all let you create shipping labels directly on their websites. The experience differs depending on whether you use the classic flow or the quick flow.
Single Label Classic Flow: This is the traditional, step by step process. You’ll enter the origin address, then the destination, then package details, then select a service, review everything on a summary page, and finally pay. UPS calls this its standard “Create a Shipment” page. It’s thorough and gives you maximum control, including options for declared value, reference numbers, and delivery notifications. Best for shipments that need special handling or when you want to review every detail before paying.
Single Label Quick Flow: Several carriers now offer a streamlined version. UPS has a “Quick Ship” option, and FedEx has simplified its label creation into fewer screens. In quick flow, you enter origin, destination, weight, and dimensions on a single page. The system auto suggests a service based on your inputs and jumps straight to payment. One project manager shared in a YouTube walkthrough that the UPS quick flow cuts label creation time roughly in half compared to the classic flow, which matters when you’re processing 20 or 30 shipments in an afternoon. The downside is fewer customization options.
For example, using the USPS Click N Ship service gives you access to Commercial Base Pricing, which is always cheaper than what you’d pay at the post office counter.
Starting from an Address Book
If you ship to the same customers or locations repeatedly, every major carrier platform lets you save addresses and start label creation directly from your address book. In UPS.com, you can click a saved address and choose “Ship To This Address” to pre fill the form. FedEx and most shipping software platforms offer the same shortcut.
This eliminates retyping and, more importantly, reduces address errors. Practitioners on Reddit’s r/Ebay community mention that using saved, validated addresses cut their “undeliverable” rate significantly compared to manually entering addresses each time.
Using Shipping Software
Platforms like Shippo, ShipStation, or Pirate Ship are designed to streamline shipping. They connect to multiple carriers, letting you compare rates and print labels from one dashboard. The biggest benefit is access to deeply discounted rates. Learn where to find the best shipping discounts. Some platforms offer savings of up to 89% off standard carrier prices, according to Pirate Ship’s rate comparison data. Many of these services have free plans for low volume shippers, making them accessible to everyone.
Using a Mobile App
Most major carriers and many shipping software platforms offer mobile apps. These apps allow you to do almost everything from your phone: entering shipment details, paying for postage, and generating a label. This is perfect for when you’re on the go and need to quickly create a shipping label.
Importing Labels
For ecommerce sellers processing high volumes, manually creating each label is impractical. Most shipping software supports label imports via CSV files. You export your orders from your store (Shopify, WooCommerce, Etsy, eBay) as a spreadsheet, then upload that file into your shipping platform. The software maps each row to a shipment, letting you review details and purchase labels in bulk.
ShipStation and Shippo both support direct store integrations that skip the CSV step entirely, pulling orders automatically. But for sellers using platforms without native integrations, the CSV import method works reliably. According to ShipStation’s documentation, the import file needs columns for recipient name, address fields, weight, and item descriptions at minimum.
Using a Manual Airbill
A manual airbill is a pre printed, multi copy paper form that you fill out by hand. It’s the old school way of creating a shipping label, and it still exists for situations where electronic label creation isn’t available. FedEx and UPS both supply airbill forms at their retail locations and through account representatives.
You’d use a manual airbill if you’re shipping from a location without internet access, if your system is down, or if the carrier’s website is experiencing outages. The form captures all the same information as an electronic label: sender, recipient, weight, service type, and declared value. You peel off copies for yourself and the carrier.
The major downside is cost. Manual airbills typically default to full retail pricing with no online discounts. They also don’t generate a barcode at time of creation, so tracking may not update until the carrier physically processes the package. For these reasons, electronic labels are almost always the better choice. But knowing the manual option exists can save you in a pinch.
Step 3: Connect a USB Scale (Optional but Recommended)
If you ship more than a handful of packages per week, connecting a USB shipping scale to your computer removes a common source of errors and surcharges.
USB scales from brands like Dymo (the M25 and S400 models are popular) and Stamps.com’s 5 lb and 25 lb scales connect directly to most shipping software. Once connected, the software reads the weight automatically when you place a package on the scale. No manual entry, no rounding errors, no surcharges for underestimating weight.
Setup is usually plug and play on Windows. On Mac, some scales require a small driver download. Pirate Ship, Shippo, and ShipStation all support USB scale integration. USPS Click N Ship does not support USB scales directly, so you’d read the weight and type it in manually.
One Etsy seller on Reddit reported that switching from manual weight entry to a USB scale eliminated the $2 to $4 adjustment charges they were getting on roughly 15% of their shipments. Over hundreds of packages, that adds up fast.
Step 4: Add Extra Services (Optional)
As you create your label, you’ll have the option to add services for extra peace of mind.
- Shipping Insurance: Protects you against loss or damage. You’ll need to declare the value of your item to purchase the right amount of coverage.
- Signature Confirmation: Requires the recipient to sign for the package upon delivery, providing proof of delivery.
Step 5: Purchase, Review, and Generate Your Label
Once you’ve entered all the details and selected your service, you’ll pay for the postage using a credit card or your account balance. The price is based on factors like package weight, dimensions, distance, and service speed. Here’s how shipping costs are calculated so you can estimate accurately.
Review the Label Summary
Before clicking “Pay” or “Purchase Label,” every platform shows a label summary screen. Take 30 seconds to check it. This review page displays:
- Origin and destination addresses (verify spelling and ZIP codes)
- Package weight and dimensions
- Selected service and estimated delivery date
- Total cost including any add on services
- Tracking number (usually generated at this stage)
Mistakes caught at the summary screen cost nothing to fix. Mistakes caught after purchase may require voiding the label and starting over, which can tie up your refund for days or weeks depending on the carrier. UPS voids are typically processed within 24 hours. USPS refunds for unused labels can take up to 30 days, according to USPS refund policy documentation.
Upon payment, the system will instantly generate your shipping label, usually as a PDF file. Many online platforms also offer electronic shipping labels, providing a QR code you can take to the carrier. They scan the code and print the physical label for you.
Printing and Attaching Your Label
The final step is getting the label on your package. You can print it yourself at home or, if you received a QR code, have the carrier print it at their retail location. If you’re using USPS, you can schedule a free USPS pickup so you don’t have to visit the post office.
Printing Best Practices
A poorly printed or placed label can cause major delays. Follow these best practices.
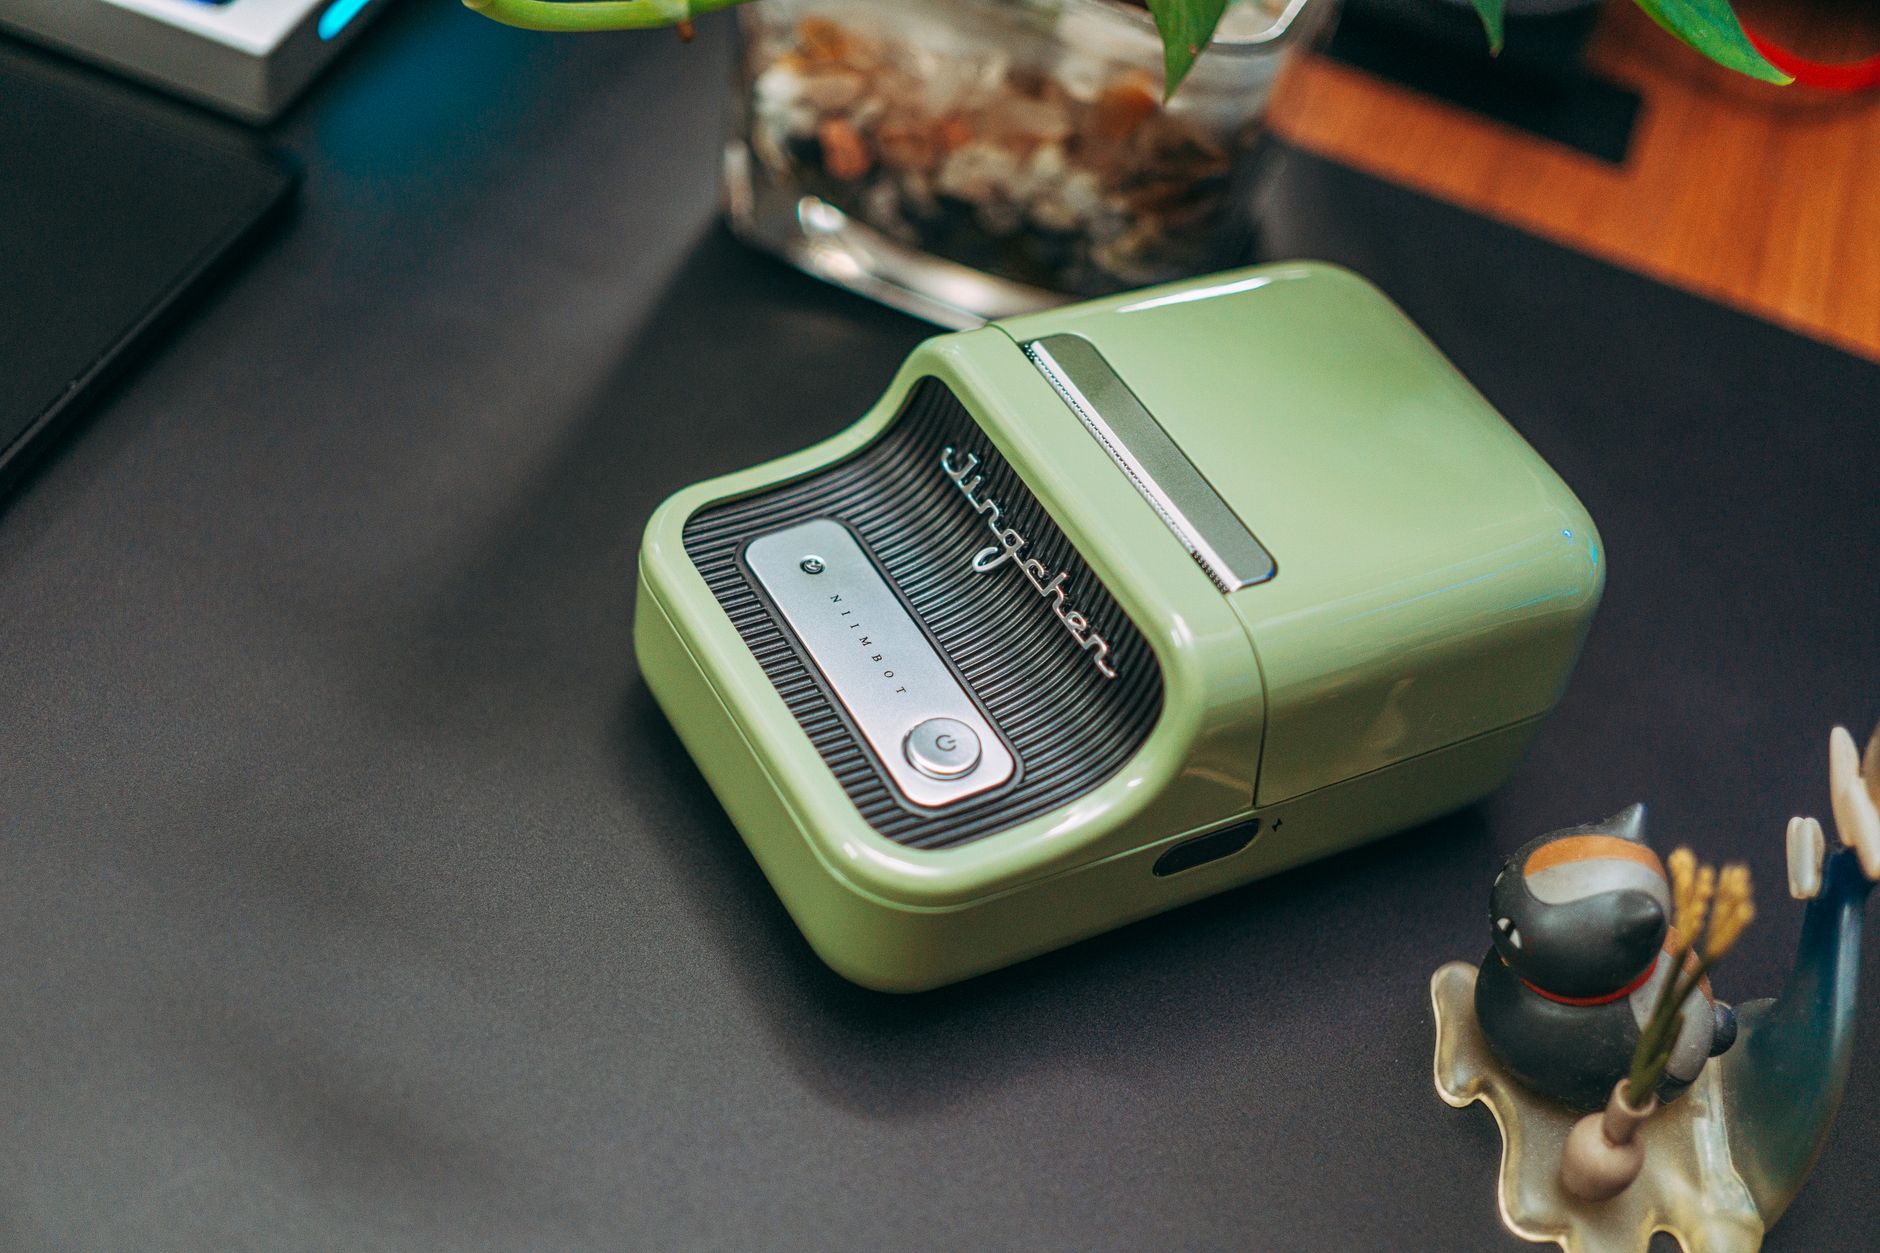
- Printer Options (Standard vs. Thermal): A standard inkjet or laser printer works perfectly fine for low volume shipping. Print the label on regular paper, trim it, and tape it securely to the box. If you ship regularly, a thermal printer is a solid investment. Here are the best shipping label printers to consider. They use heat to print on self adhesive labels, so there’s no ink to replace.
- Label Placement: Place the label on the largest, flattest surface of the package. Ensure the entire label is visible on one side. Don’t wrap it around an edge or corner. Smooth the label down so there are no wrinkles or bumps, especially over the barcode. Cover the label with clear shipping tape if you used regular paper, but avoid placing tape directly over the barcode, as the glare can interfere with scanners. Remove or completely cover any old shipping labels or barcodes on the box to prevent confusion.
- Barcode Quality: The barcode is the most critical part of the label for automated sorting machines. Make sure your print quality is high, with no smudges, streaks, or faded areas. A barcode that can’t be scanned will require manual processing, which can delay your shipment.
How to Reprint a Shipping Label
Labels get smudged. Printers jam. Paper runs out mid print. Sometimes you just close the PDF before printing it. Whatever the reason, reprinting a shipping label is straightforward if you know where to look.
From a carrier website: On USPS Click N Ship, go to your Shipping History, find the label, and click “Reprint.” UPS allows reprints from the Shipping History section of your account for up to 90 days after creation. FedEx stores completed labels in Ship History as well. In all cases, reprinting does not charge you again. You’re simply downloading the same PDF a second time.
From shipping software: Shippo, ShipStation, Pirate Ship, and similar platforms store every label you’ve ever created. Search by tracking number or recipient name, then hit “Reprint” or “Download.” Most platforms keep labels available indefinitely.
If you used guest checkout: This is where it gets tricky. Guest label creation on UPS or FedEx may only give you one chance to download the PDF. If you didn’t save it, you’ll need to contact the carrier with your tracking number and request a copy. Some Reddit users in r/Ebay have reported success calling UPS customer service to get a reprint emailed to them, but it’s not guaranteed.
The simplest insurance policy: always save the PDF to a dedicated folder on your computer before printing. Takes two seconds and prevents headaches later.
Don’t Forget the Packing Slip
A shipping label gets your package to its destination, but a packing slip tells the recipient what’s inside. While not always required for casual shipments, it’s a professional touch for any business.
A packing slip is a document included inside the package listing the contents of the shipment. It typically includes item descriptions, quantities, and SKUs. Unlike a shipping label, it does not contain postage or tracking information. Its main purpose is to help your customer verify they received everything they ordered.
For businesses, packing slips are essential for good customer service and inventory management. Most shipping software platforms can automatically generate packing slips along with your shipping labels, creating a streamlined workflow.
Managing Returns and Customization
Your shipping workflow doesn’t end at the outbound shipment.
Creating Return Shipping Labels
Most online platforms make it easy to generate return labels. You can create a prepaid return label at the same time as your outbound label and include it in the box, or email it to your customer on demand. Many services also offer QR code returns, where the customer shows the code at a drop off location to have a label printed for them.
Using Shipping Label Templates and Customization
If you’re a business, you might want to customize your labels. Some shipping software platforms allow you to add your company logo or a small promotional message to the label, helping create a branded experience for your customers.
Common Mistakes to Avoid When You Create a Shipping Label
A small error can cause a big headache. Watch out for these common mistakes:
- Incorrect Address: Always double check for typos, and include apartment or suite numbers. Address validation tools in shipping software can help catch errors.
- Wrong Weight or Dimensions: Underestimating the weight can result in carrier surcharges. According to UPS’s billing adjustment policy, packages audited at a higher weight will be re billed automatically, often with an additional fee.
- Poor Print Quality: A smudged or faded barcode can make your package undeliverable.
- Improper Placement: Placing a label over a seam or on a corner can cause it to get damaged or become unreadable.
- Using the Wrong Service: Make sure the service you selected matches the packaging you’re using (for example, only use Priority Mail boxes for Priority Mail services).
- Skipping the Summary Screen: Rushing past the label review screen and submitting an incorrect shipment. Voiding and recreating labels wastes time and can delay refunds.
- Not Saving the PDF: Closing the label PDF without saving it first. If you need to reprint, you’ll have to dig through your account history or call customer service.
Find the Best Rates for Your Next Shipment
Knowing how to create a shipping label is the first step, but saving money matters just as much. By creating labels online instead of at the post office, you automatically get access to discounted commercial rates. The key is to always compare those rates to find the absolute best deal for every package you send.
Ready to find the cheapest way to ship? Compare carrier rates for free and see how much you can save.
Frequently Asked Questions (FAQ)
How much does it cost to create a shipping label?
The cost of a shipping label is the price of the postage. This varies based on the carrier, service level, package weight, dimensions, and destination. Creating the label itself online is free. You only pay for the shipping service you purchase.
Can I create a shipping label without a printer?
Yes. Many carriers and shipping services now offer a QR code option. After you purchase your postage online, you’ll receive a code on your phone. Take your package and the code to a participating carrier location, and they will scan it and print the label for you.
Can I create a shipping label without an account?
Yes. UPS and FedEx both offer guest checkout for one off shipments, letting you pay with a credit card and skip account creation. USPS requires a free account for Click N Ship, but registration takes under two minutes. Guest labels typically come at standard online rates, though you may miss the deeper discounts available to account holders.
What’s the easiest way for a small business to create a shipping label?
For small businesses, using multi carrier shipping software is often the easiest and most cost effective method. These platforms integrate with ecommerce stores, import orders automatically, offer significant postage discounts, and let you print labels in batches.
Do I need a special printer for shipping labels?
No. A standard inkjet or laser printer works just fine. However, if you ship frequently, a thermal label printer can save you time and money on ink and paper in the long run.
How do I create a shipping label on my phone?
Use the carrier’s mobile app (like the UPS or FedEx app) or a shipping software app. The process is the same as on a desktop: enter the package details, choose a service, pay for postage, and the app generates a label or a QR code.
Can I reprint a shipping label?
Yes. On USPS, UPS, and FedEx, go to your shipping history and select “Reprint” for the label you need. Shipping software stores all your labels indefinitely. Reprinting does not charge you again. If you used guest checkout and didn’t save the PDF, contact the carrier with your tracking number.
Can I handwrite a shipping label?
While you can still handwrite addresses for some services at the post office, it’s not recommended. A printed label is much more reliable, as it includes a trackable barcode essential for modern logistics. You also miss out on the postage discounts available online.
What is a manual airbill and when would I use one?
A manual airbill is a pre printed paper form you fill out by hand at a carrier location. It’s useful when you don’t have internet access or the carrier’s website is down. The downsides are full retail pricing and delayed tracking updates. For nearly every other situation, an electronic label is the better choice.