
How To Address An Envelope
An easy to understand guide with photos that summarize the official USPS address formatting guidelines.
Things To Keep In Mind While Addressing An Envelope
Unless you have studied the postal service’s requirements meticulously, you are very likely missing out on some crucial facts about addressing an envelope.
The instructions in this article applies to any envelope sent using the United States Postal service, whether it is the standard #10 envelope, a large manila envelope, or even a Priority Flat Rate Envelope, the USPS has standardized the addressing requirements.
Here’s an in-depth guide that provides expert insights on addressing an envelope in the right format for your letters or e-commerce business. The video below gives a good summary of the basics. Don’t for get to add a stamp!
The instructions below apply to both printed and handwritten envelopes. If you are on a Mac, you can download EnvelopeMagic for free, which will let you easily print envelopes.
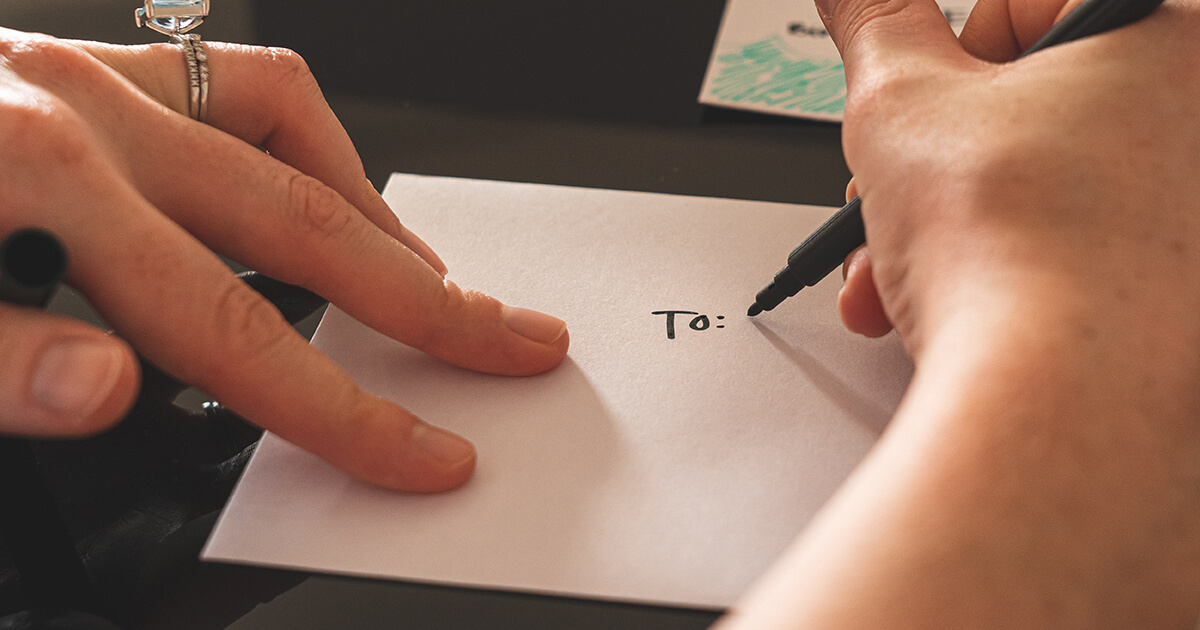
Step 1. Write the Return Address
Start addressing the envelope by printing or typing your (the sender) address in the upper-left corner on the front of the envelope.
The sender’s address is known as the “return address”, also sometimes referred to as the “from” address. It is called the return address because this is the address that the post office will use in case the recipient address is incorrect or if the letter is for some reason refused, it will be returned to the sender.
If an envelope is somehow undeliverable, it will be mailed back to you immediately. This is only possible if you’ve written the return address on the envelope.
In our examples we will be using a #10 envelope, also know as business-sized, or standard envelopes in the United States.
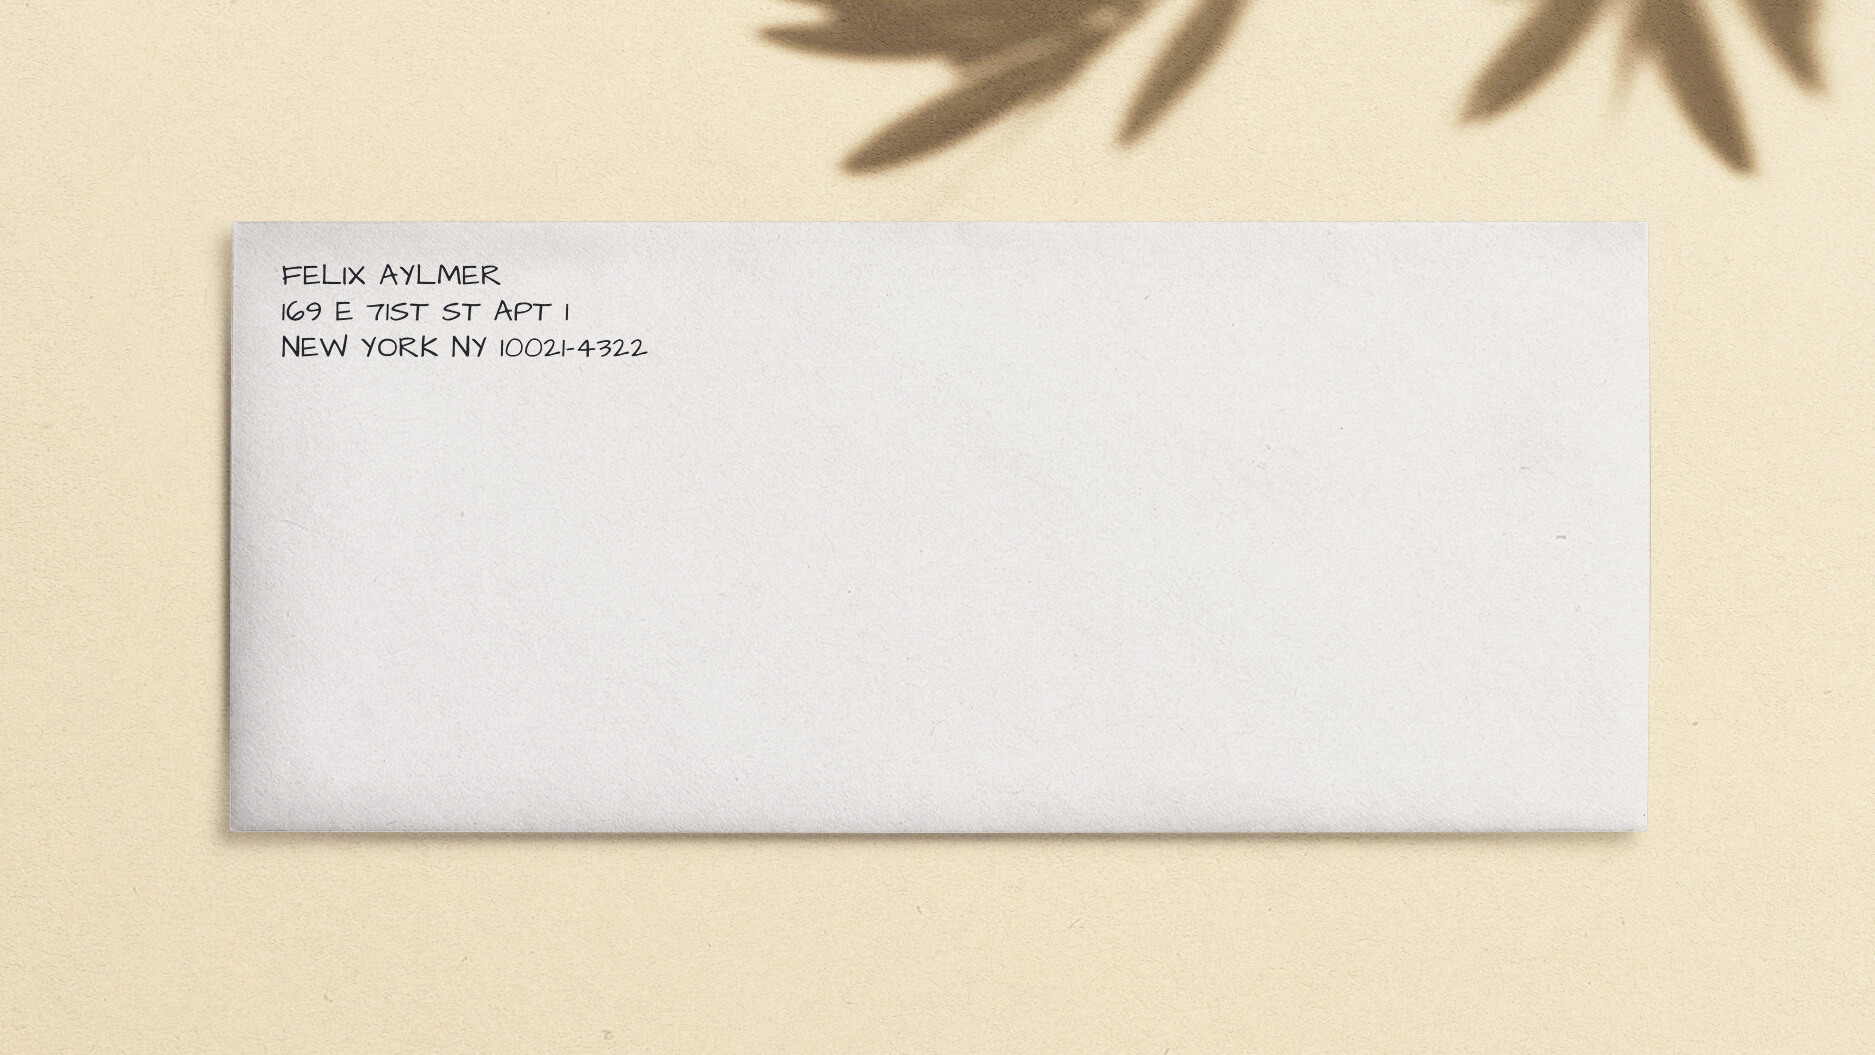
The return address should be written, typed, or printed on the upper left corner of the envelope. It must clearly include your name, full street address and apartment or suite number (if applicable), city, state, and ZIP code. You can optionally include your business name on a new line under your name.
The apartment or suite number should be on the same line as the street address. If it cannot fit on a single line, place it on a separate line immediately above the street address.
For abbreviations of secondary address units such as suites and apartments, reference the USPS’ examples.
You’ll notice that the return address in the above image follows the format:
SENDER’S NAME
SENDER’S COMPANY NAME (optional)
STREET ADDRESS or P.O. BOX
CITY STATE ZIP
In the above example, there was not a company name included.
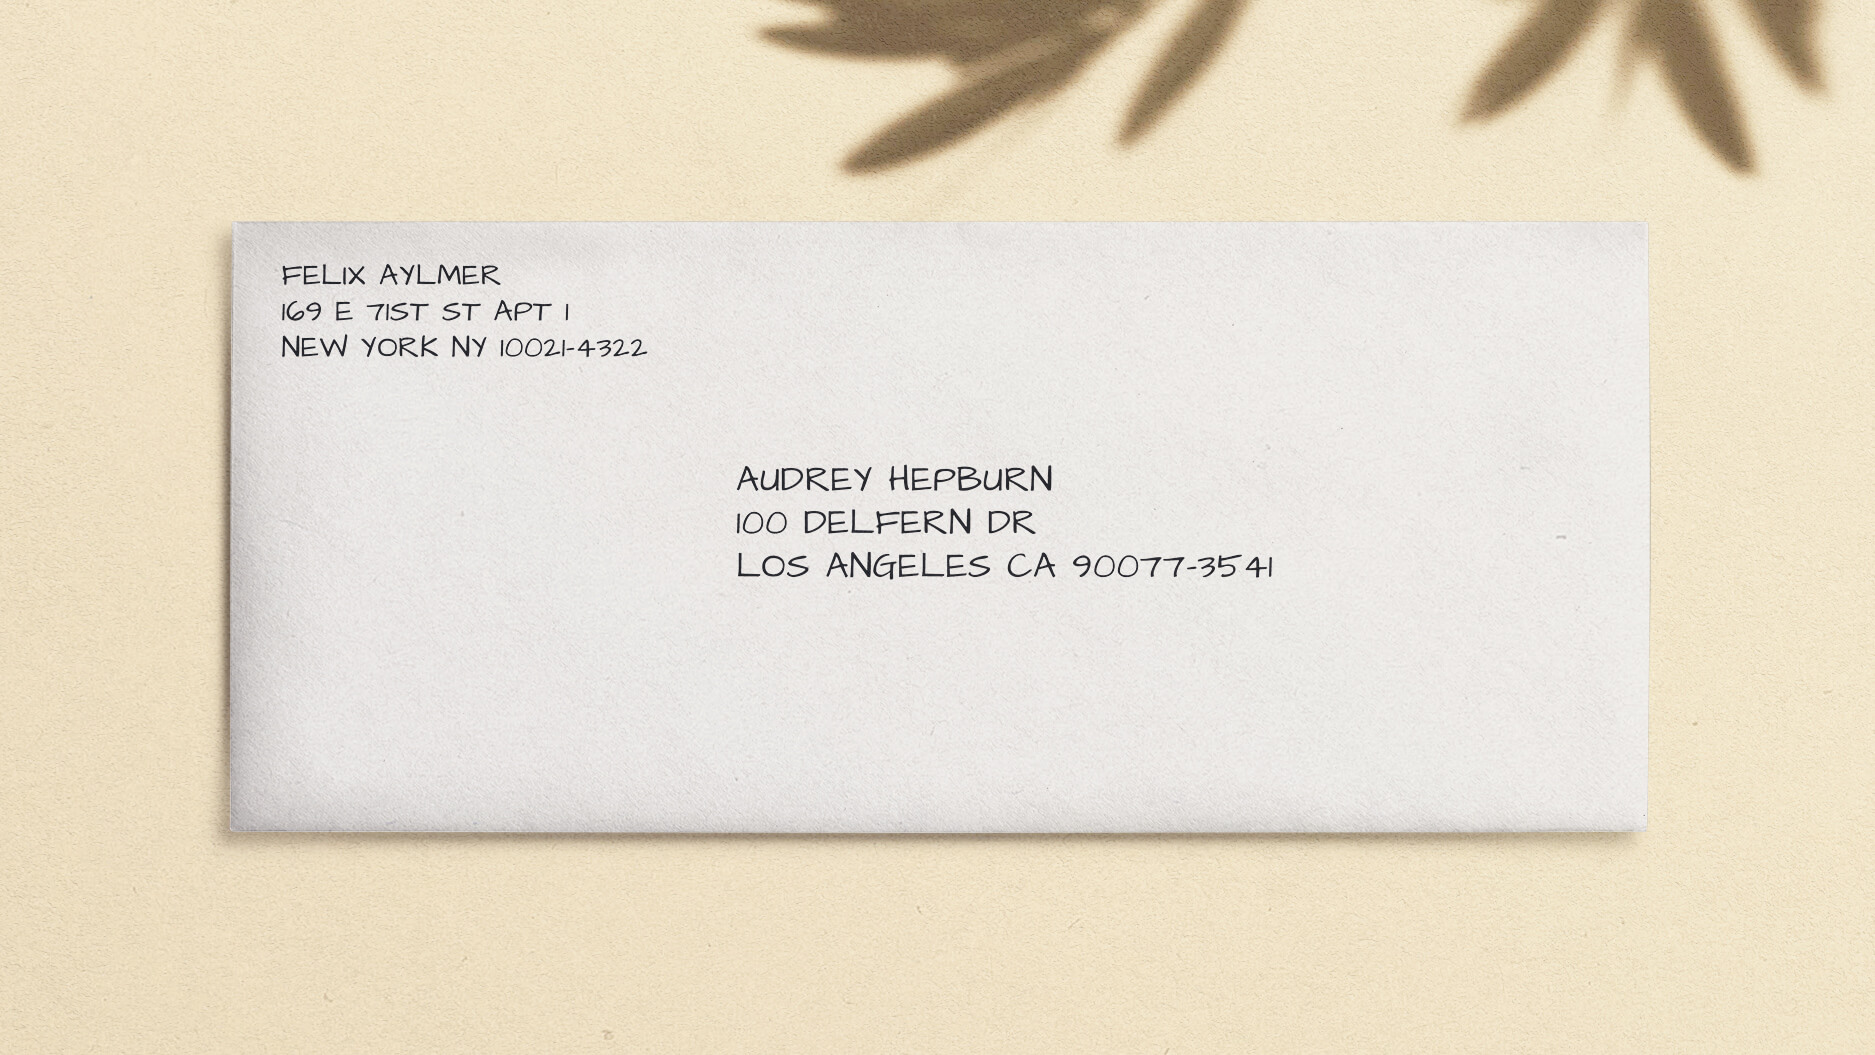
Step 2. Write the Delivery Address
The format for the delivery address, which is the address of the person receiving, will follow the same format as the return address:
RECIPIENT’S NAME
COMPANY NAME (optional)
STREET ADDRESS OR P.O. BOX
CITY STATE ZIP
The delivery address is to be written on the same side as the return address and stamp. The addresses should be printed or typed in a block of text near the center of the envelope. Address lines should written where the longest side of the envelope is horizontal, or in portrait orientation as seen in the example.
All addresses should follow formatting guidelines the below:
- Print neatly in capital letters
- Written using pen or permanent marker. Pencil may get smeared or rubbed off as the envelope gets run through sorting machines or mail carrier bags.
- Do not use commas or periods. This is to ensure that the addresses are machine readable. The older style of addressing a city often included a comma. For example, the city and state of the address used to be as follows: San Francisco, CA. It should now be formatted as: SAN FRANCISCO CA
- Include the ZIP+4 Code whenever possible. If you are unsure of it, you can look it up on the postal service site with a partial address. Be sure to include the apartment or unit number during the ZIP code lookup as that could affect ZIP+4 information.
You may find using an address label with envelopes helpful especially if you have many envelopes to address. With labels you can write or print on the label and then place it on the envelope, but with USPS, you can write directly onto the envelope itself. These labels include spaces for a return address in the upper left corner and the delivery address in the center.
You may find using an address label with envelopes helpful especially if you have many envelopes to address. With labels you can write or print on the label and then place it on the envelope, but with USPS, you can write directly onto the envelope itself. These labels include spaces for a return address in the upper left corner and the delivery address in the center.
Include C/O If Necessary
The term C/O stands for ‘care of,’ which means ‘through someone,’ and businesses often use to make sure that the package isn’t returned to them.
It lets the postman know that the recipient mentioned on the envelope is not the typical recipient at that street address.
This means that the post office should deliver the envelope to the entity listed as C/O in the address, who should then give it to the person to whom it is addressed.
To use a C/O when addressing an envelope, you can simply mention the recipient’s name and write C/O and the name and address of the person, you are leaving the package in care of. So for example, if you want to send the package to a Scott Summers, in care of another person Charles Xavier, you’ll use this format:
SCOTT SUMMERS
C/O CHARLES XAVIER
1407 GRAYMALKIN LN
NORTH SALEM NY 10560
You can use “care of” when someone is vacationing in a hotel or staying at someone else’s home temporarily.
SOFIA COPPOLA
C/O CHATEU MARMONT
8221 SUNSET BLVD
LOS ANGELES CA 90046
Military Addresses
If your mail is destined to a recipient who has been deployed to a U.S. base, it’s essential to follow specific guidelines for formatting addresses.
- The first line must include the service member’s full name and rank
- The second line must consist of their unit and Box
- The third line includes the APO, DPO or FPO designation, the appropriate two-letter state abbreviation followed by five-digit ZIP code
The city name is replaced by APO (Air/Army post office), FPO (Fleet post office), or DPO (Diplomatic post office). These indicate which base the envelope will be mailed to.
Next, the state name is replaced by A.E. (sent to Europe, Middle East, Africa, and Canada), A.A. (within America), or A.P. (in the Pacific).
Here’s an example:
SGT JANE DOE
UNIT 802 BOX 74
APO AE 09499
International Address
Upper- and lower-case requirements, punctuation, postal codes, and province rules may vary with each destination. Therefore, you should always check the country’s guidelines before addressing an envelope.
However, ordinarily, you’ll only need to add the name of the country below the last line of the address.
RECIPIENT’S NAME
STREET ADDRESS
CITY MUNICIPALITY PROVINCE or other designation POSTAL CODE
COUNTRY NAME
The third line includes the names of state, territory, county, district, or town. For most countries, the city line goes below the street address. Also, there may be exceptions, such as countries that prefer the postal code at the beginning of the third line while others include it at the end.
Many other countries require the postal code to be listed on a line by itself. Thus, you must view all the country’s preferred formats before writing an international address.
Post Office Box Format Options
When you are addressing an envelope for your customers, you should use standard abbreviations for the post office box and omit the periods. There are two ways that the P.O. Box information can be conveyed.
Recipient’s Name
PO BOX XXXXX
City State ZIP
or
Recipient’s Name
POB XXXXX
City State abbreviations
Also, the Military P.O. Box has additional requirements where you use APO, FPO, or DPO address. APO is used for Air/Army Post Office; FPO is used for Fleet Post Office while DPO is used for the Diplomatic Post office.
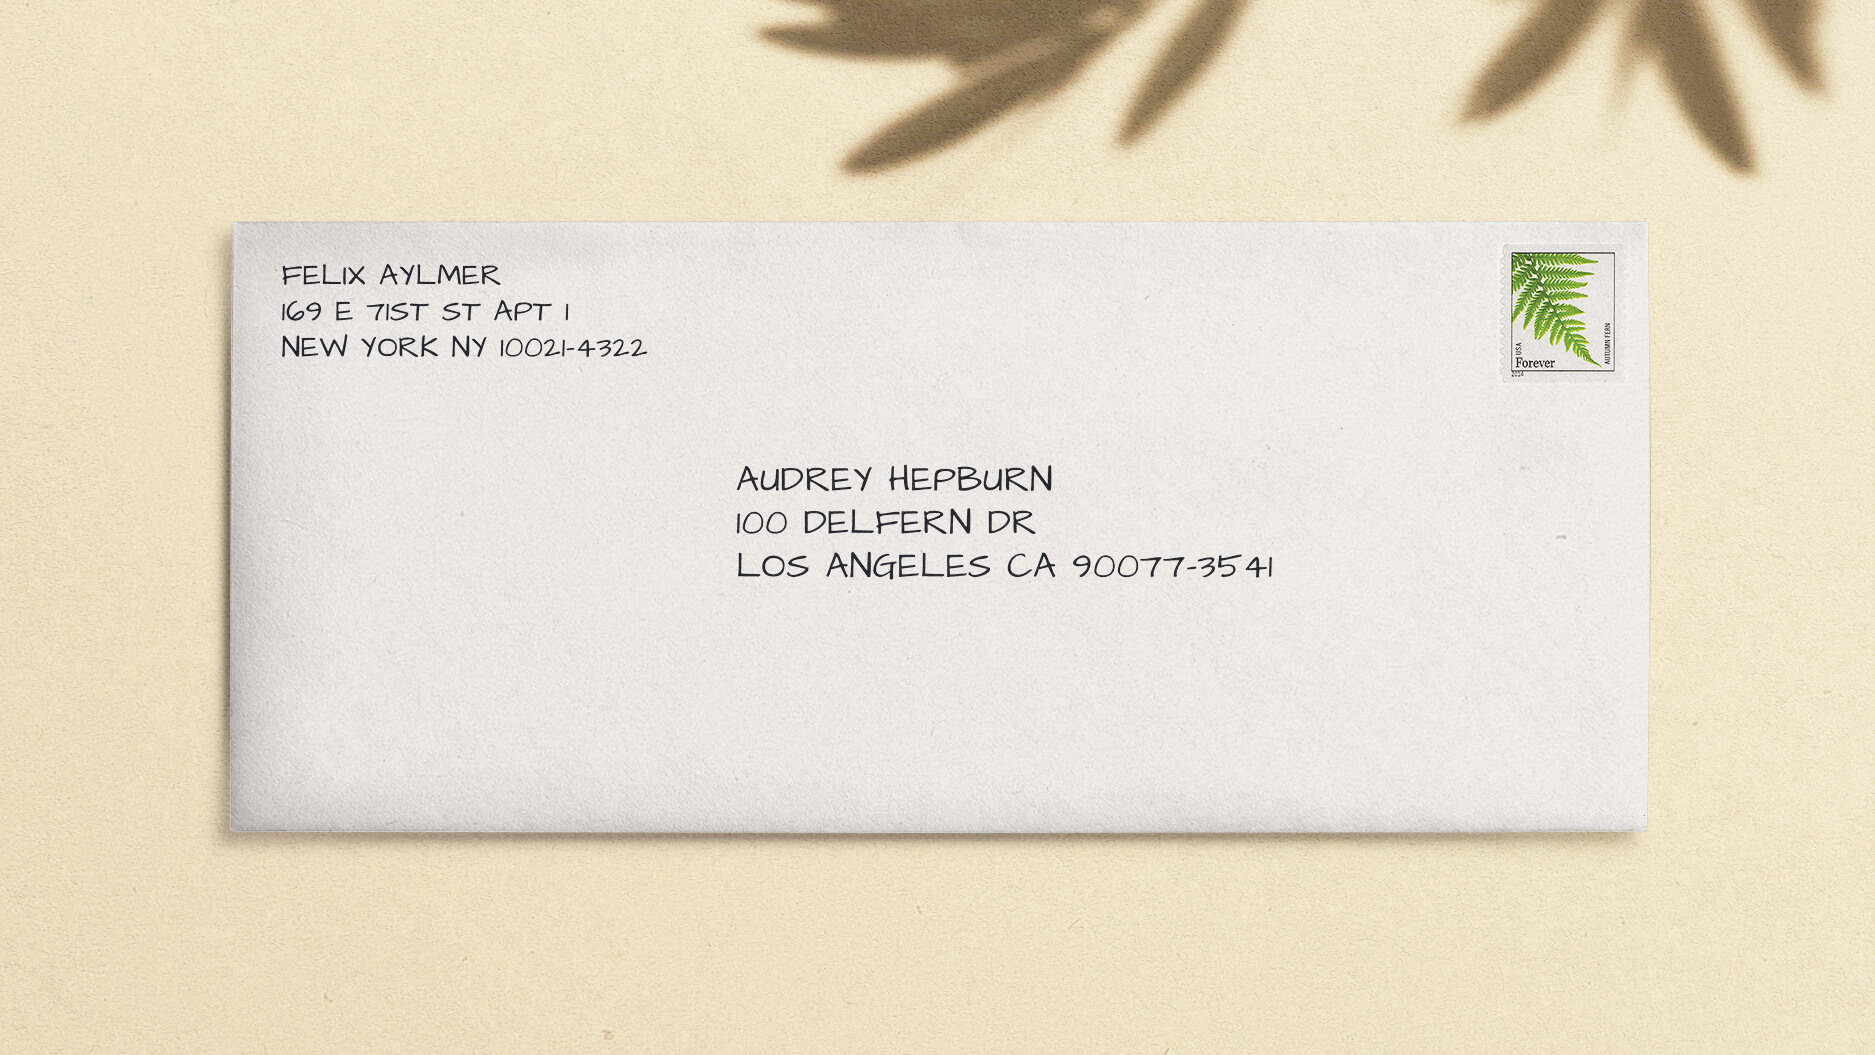
Step 3. Affix a Postage Stamp
When you want to ship an envelope, postage stamps are critical for ensuring that the delivery is successful. Various types of stamps can be bought from the post office or printed online at a discount – prices are based on their postage value, shipping, and other factors such as the weight, height, dimensions of the envelope, as well as the time frame of delivery. USPS posts a an updated table of its pricing here.
What if the post office can’t read my handwriting?
Sending a letter for the first time can be intimidating, but once you become familiar with addressing envelopes, it will become second nature. Also, you don’t have to worry too much about getting the format exactly right the first time, the USPS has your back. If the automatic sorting machines can’t read your handwriting, there’s a facility in Utah that deciphers your handwriting.
According to the video below, the optical character recognition technology that is used by computers to read addresses on envelopes is now able to handle close to 99% of the mail that passes through the post office. The remaining addresses get read by a person. Chances are good that your mail will get delivered! If USPS can’t find the destination address, they will use the return address and return the letter back to you.
Do your best on addressing the envelope, but don’t stress over it too much.